Follow these easy and simple steps to add a new product to the store :
1. In your Opencart admin panel go to the Catalog ➜ Products section, then click on the Add New button in the top-right corner of the products page.
2. The General tab contains the options mentioned below :
- Product name – Add the name that will be displayed as the name of the product.
- Description – You can add the details of the product which can be helpful to your visitors.
- Meta Tag Title – Add a meta title that is important for SEO, it is used by search engines.
- Meta Tag Keywords – You can add the set of your product keywords that your visitors use to find products in their preferred search engines.
- Product Tags – it is a combination of product tags, used for the product description for store visitors. It is also used for product searches within the website.
In General Tab, you can add your product information for different languages by switching language name tabs.
3. After entering General details go to the “Data” tab, to fill the option mentioned below :
- Model – Add the unique model number. It is a required field that must contain letters and digits.
- SKU – You can add the Stock keeping unit.
- UPC– You can add the Universal Product Code.
- EAN – You can add European Article Number if your store belongs to Europe.
- JAN – You can add a Japanese Article Number if your store belongs to Japan.
- ISBN – You can add an international standard book number.
- Location – You can add the address of the product location.
- Price – Add the price of the product.
- Tax Class – Add a tax class category applied to this exact product. In case if the item is not taxable, you should set it to nothing.
- Quantity – Add the total number of the product available in your store for this product.
- Minimum Quantity – Set the minimum number of product items that can be purchased.
- Subtract Stock – this option allows you to automatically decrease the number of items in stock after the customer purchase the specific product.
- Out Of Stock Status – The message displayed on the website when the product is out of stock.
- Requires Shipping – Displays if a product needs to be shipped or not.
- Date Available – You can set the date when this specific product will be available for purchase.
- Dimensions – Specify the Product length ✖ Width ✖ Height.
- Length Class – Specify the length of the product. You can set length into millimeter, centimeter, and inch.
- Weight – Specify the weight of the product.
- Weight Class – Specify product weight measuring unit from available options such as kilogram, gram, pound, ounce.
- Status – You need to specify the status of the product whether to display it on the website or not.
- Sort Order – You need to specify the product priority number, the lower the priority number the higher it is placed on the list.
4. After you filled all the necessary information in the data tab you will need to go to the Link tab and set the options mentioned below :
- Manufacturer – You can add the manufacturer name to display it in the product detail.
- Categories – You need to specify the category or categories that the product belongs to. A product will be placed on the categories page in your store automatically after selecting the categories.
- Filters – This option allows you to select filters, that will be applied to the products in the case the filter module is enabled on the website.
- Stores – Specify which store will be selling this product.
- Downloads – This field allows you to add the download link if the product is downloadable.
- Related product – You can add some products to display by typing the name of the product and these selected products are display in the relate products section on the product page.
5. After you fill the link tab you will have to go to the Attribute tab which points towards adding the product option that is use for product comparison.
6. After adding attribute detail go to the Option tab, where customers can make some extra selection like product color, size, etc. before adding the product to the cart.
7. The recurring tab allows you to set recurring payments if required.
8. Discounts are set in the same-name tab when you are creating a product or editing it. To set a discount, you need to fill in the options mention below :
- Customer group – You have to specify for what customer group discount will work.
- Quantity – You need to specify the number of products discount will be apply to.
- Priority – You need to define the discount priority in case if you are offering multiple discounts at the same time.
- Price – Set the product price after applying a discount.
- Starting Date – Select the date you want to start offering a discount.
- Ending Date – Select the date you want to stop offering a discount
9. The Special tab is as same as the discount, but the difference is that the product will be considere to be a special offer. Fields in the tab are identical to the previous one.
10. The Image tab allows you to add product images. Each image has a sort order field that defines images order on the product page.
11. If you are providing a loyalty program on your website then the Reward points tab will be useful to you. This allows customers to collect points for each purchase on the website. If you don’t offer a loyalty offer the number should be set to 0.
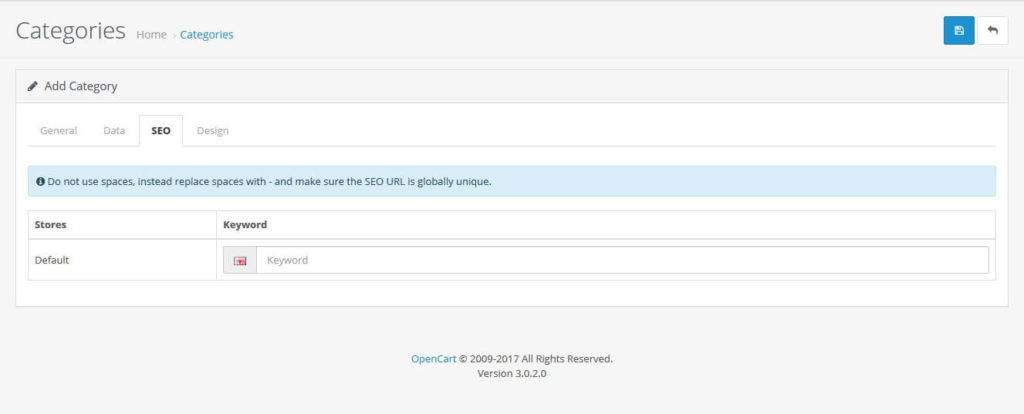
12. SEO tab allows you to add unique product keywords for each language, which will help products to be found by search engines. Keyword field does not contain spaces, you can use “-” instead of using space.
13. At last, the Design tab allows you to create overrides for specific designs if you wish to display this product in other layouts than a simple product page.
14. After filling in all the details click on the Save button in the top right corner of the page to complete the product creation process.
Hope this tutorial will be helpful to you!
Related Tutorials For Opencart :
Setup Featured Products & Special Products Price | Opencart 3.x