Unexpectedly if you experience the issue of the Logo size not corresponding to the original image size sometimes. This issue might be related to coding implemented for restriction of the size.
If Method-1 did not help you or can’t be applied, follow the steps mentioned below for Method-2 :
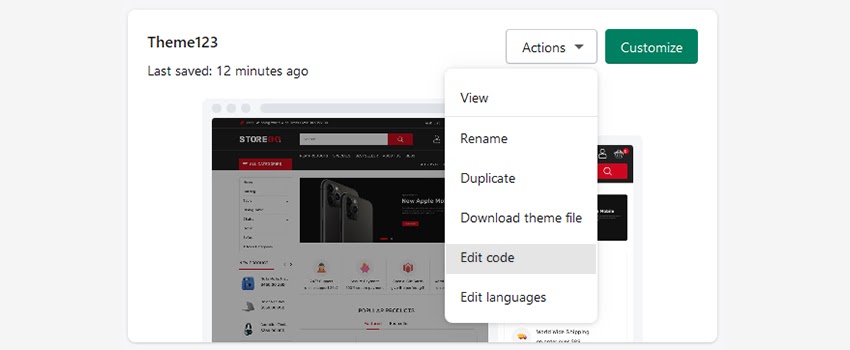
1. Open your Shopify admin panel and go to the Online store ➜ Themes ➜ Actions ➜ Edit code.

2. You will have to scroll down to the Config folder and choose the settings_schema.json file.
3. In the window on the right side of the files list, you can see the content of this file, we recommend you to create a backup of the file before editing it.
4. Find the code approximately on line no 57 :
|
Change the values this is suitable for you.
For example, if you want to change your logo size to 800x600px, the changed
code will look like as mentioned below :
|
5. Save the changes you made.
Hope this tutorial will be helpful to you!
Related Tutorials For Shopify :
How To Change Maximum Logo Size (Method 1) | Shopify Themes
How To Change Theme Colors Of Your Online Store | Shopify Themes