Pre-loader is generally an image that appears before the website loads completely. To change it follow the steps as mentioned below :
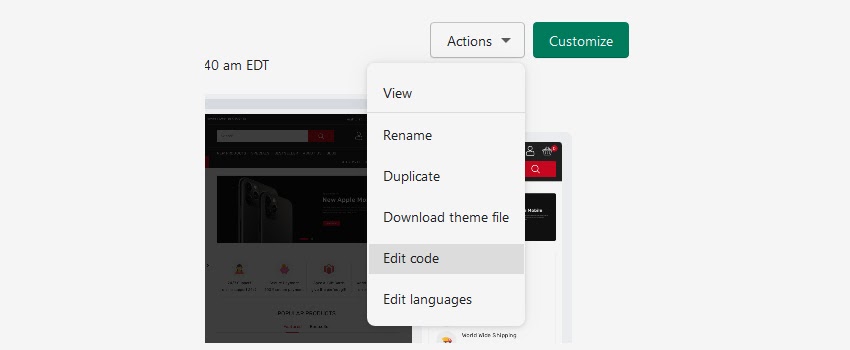
1. Open your Shopify admin panel and go to the Online store ➜ Themes ➜ Actions ➜ Edit code.
Find the Assets section on the left and find the image that is set as a pre-loader. Don’t forget to remember the name of it. For example, preloader.gif.
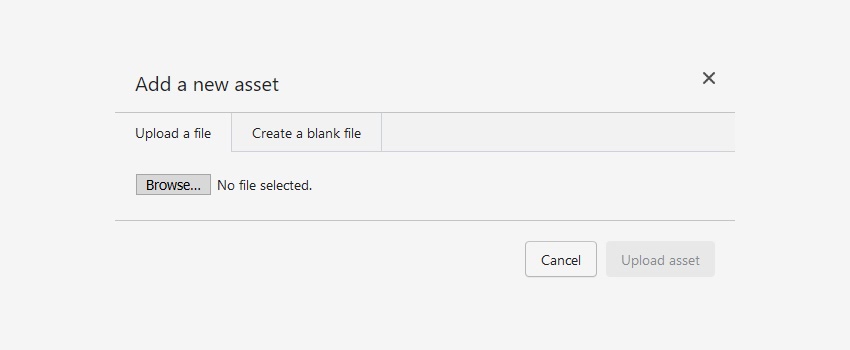
2. Then you will have to delete this image and click on the Add new asset and upload the image you want to make your pre-loader with the same name and extension. In our case preloader.gif. Now your pre-loader has been changed.
To delete the pre-loader, follow the steps as mentioned below :
1 Open your Shopify admin panel and go to the Online store ➜ Themes ➜ Actions ➜ Edit code then open the theme.liquid file under the Layout folder, find the following line :
|
It can also look like as shown below :
|
2. Comment out or delete this code. Save the file so you will not see the pre-loader image anymore on the frontend.
Hope this tutorial will be helpful to you!
Related Tutorials For Shopify :
Shopify Administration And Configuration
Shopify Categories & Products Tutorials
Shopify Installation Tutorials
Shopify Layout And Content Editing Tutorials
Shopify Links & Menus Tutorials
Shopify Localization & Translation Tutorials