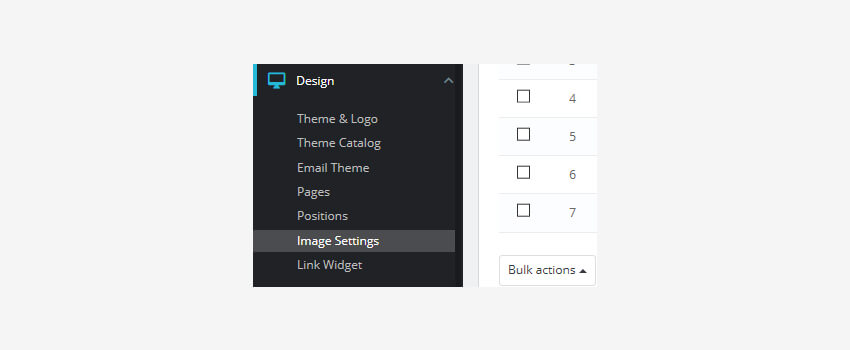
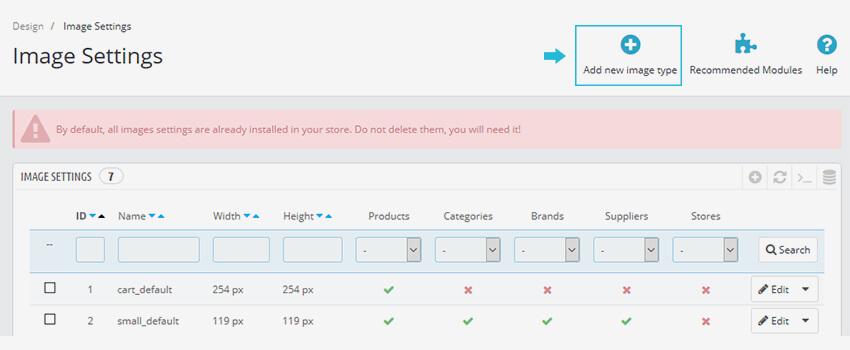
- In your Prestashop admin panel go to the Design ➜ Click on Image Settings section :
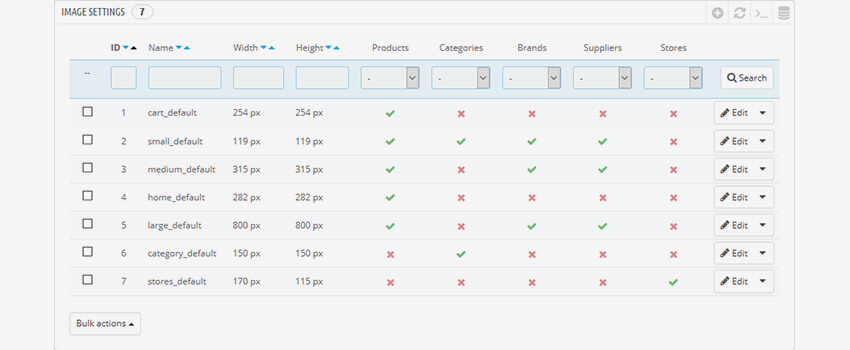
2. You will see the predefined image dimensions list. You can enable the image size for the specific type of content directly in the image size list :
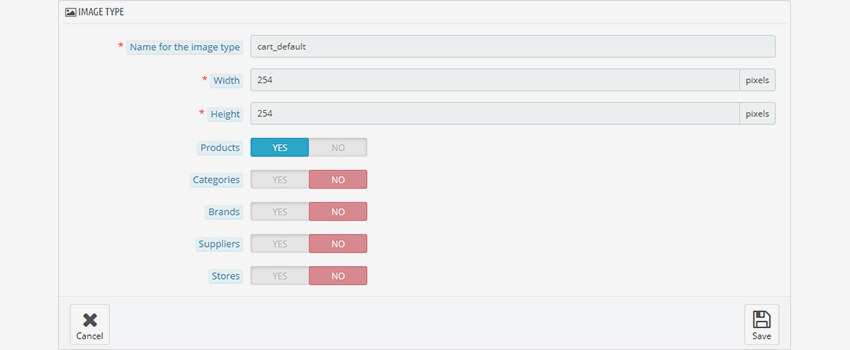
3. Click on the image size to regenerate for editing. You can set your preferred height and width parameters. Then Save the changes :
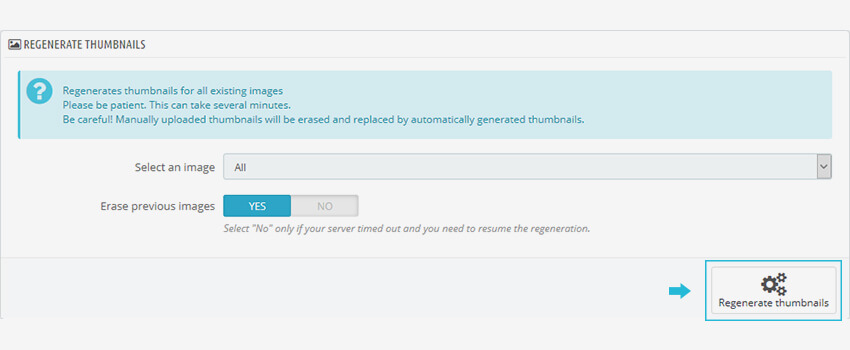
4. Once all the desired image dimensions are changed, click the Regenerate thumbnails button at the right bottom of the page :
5. Refresh your website to see the changes. You need to clear the Prestashop cache and browser cache.
Define The Type Of Content And Add A New Image Size
- Go to the Design ➜ Images Settings section. Select the Add new image type button :
2. You can set the options mentioned below :
- Name the image type – add the title name of the new image type.
- Width – add maximum image width in pixels.
- Height – add maximum image height in pixels.
- Products – Your prefer type will be use for product images.
- Categories – Your prefer type will be use for the category images.
- Brands – Your prefer type will be use for brand images.
- Suppliers – Your prefer type will be use for supplier images.
- Stores – Your prefer type will be use for store images.
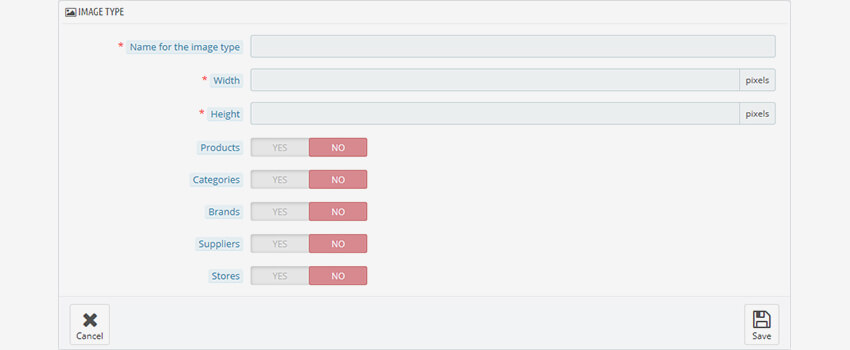
3. After adding details, save the changes, and refresh your website.
Hope this tutorial will be helpful to you!
Related Tutorials For PrestaShop :
Language And Localization Tutorials
PrestaShop Template Installation Tutorials