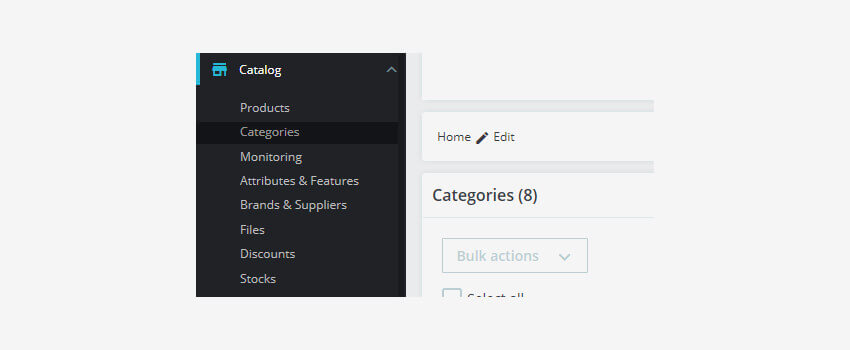
- In your Prestashop admin panel go to the Catalog ➜ Categories section :
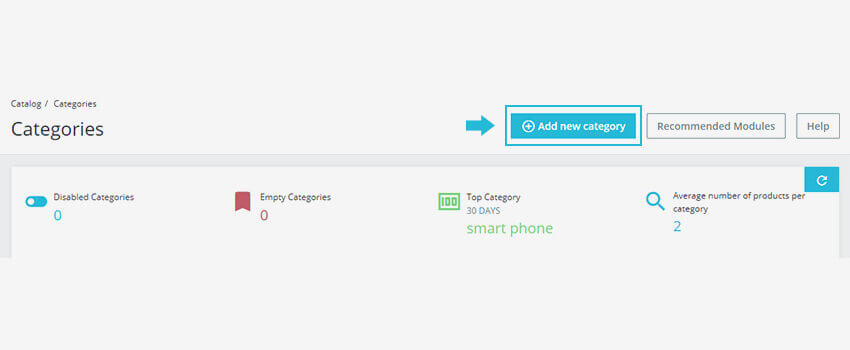
2. Click on Add new category button to create a new category.
3. After clicking add new category, fill in the information about the category, and Save it.
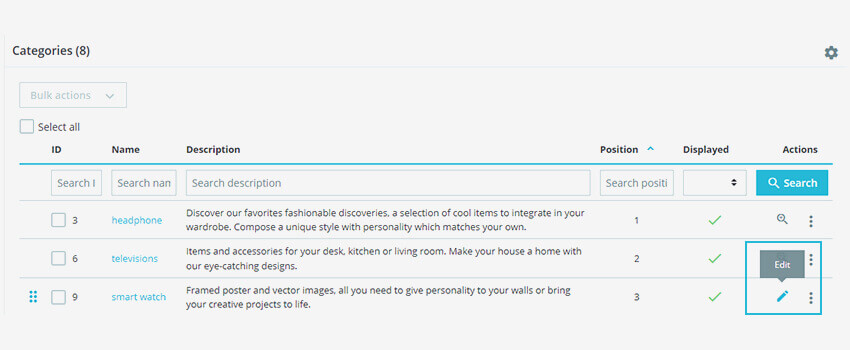
4. A newly created category can be seen in the list of available categories :
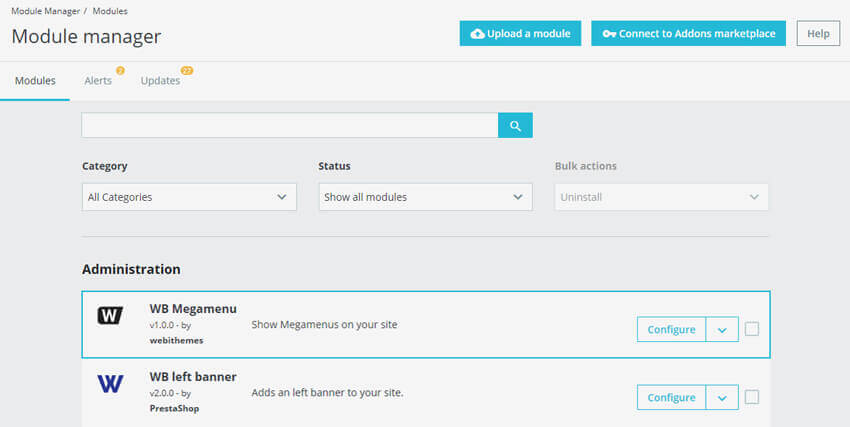
5. To assign a category to the menu, go to Modules ➜ Modules and Services section. Choose the Installed Modules tab. Find the WB Mega Menu or your other downloaded mega menu module and click the Configure button :
6. Click on the Add item “+” button to create a new item :
7. Set the following options. In the drop-down link choose the Existing URL and choose your Test category among the list :
8. Click the Save button and refresh your website. Your new category will appear in the main menu.
Hope this tutorial will be helpful to you!
Related Tutorials For PrestaShop :
Manage Features And Attributes | PrestaShop 1.7
Create A Products Pack | PrestaShop 1.7
How To Create Product Combinations Manually | PrestaShop 1.7
Attach Files To The Products In Your Store | PrestaShop 1.7.X
How To Create A Simple Product In Your Store | PrestaShop 1.7.X