To display all the products of your store follow the steps mentioned below :
1. Open your Shopify admin panel and go to the Products section and click on the Collection tab below it. On the top-right of the page click on the Create collection button.
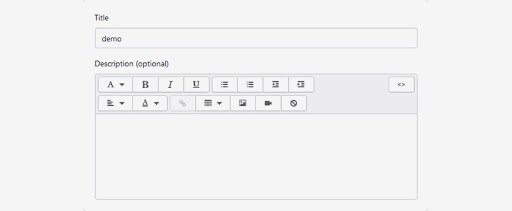
2. Add “All” in the title field and add a description in the description field. You can add your preferred name to a collection.
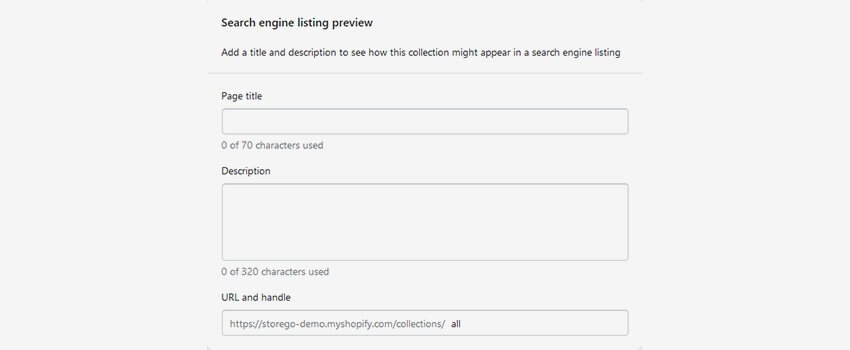
You need to scroll down a bit to find the “Edit website SEO” button on the same collection page, click on it. In the form that appeared, you will find the “URL and handle” field, set the URL as “all” only this URL displays all the store products.
For example, the demo URL is https://demos-testing.myshopify.com, the collection URL will be https://demos-testing.myshopify.com/collections/all.

NOTE: Mostly there is no need to create the category, you can use /collection/all URL to display all the products of your store, you can add the URL to any part of your store such as the main menu, footer menu, the link of a banner, etc.
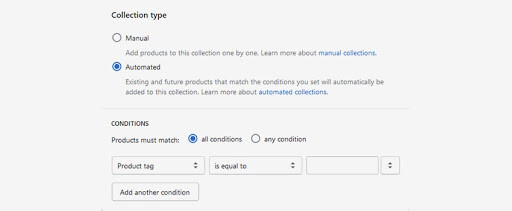
3. Below the page, you will see the conditions sections, select the Automatically select the product based on conditions and the Product must match all conditions.
4. If you want all the products to be displayed (both in and out of the stock), set the product condition “Product price is greater than 0”. If you want to display only in-stock products, set the product condition “Inventory stock is greater than 0”.

5. You can also set your own conditions by choosing them from the drop-down as well as you can set more than one condition by clicking on the Add another condition button.

6. Save the changes you made.
Hope this tutorial will be helpful to you!
Related Tutorials For Shopify :
Create A Featured Collection | Shopify Themes
Set Up A Featured And A Special Products
How To Add Product’s SKU Value On The Product Listing
Change The Time Period For Product That Is Considered To Be New