Maintenance mode is used to restrict your website visitors from noticing what’s going on your web page. For detail, after the template installation, when your website is not ready to go live.
Prestashop 1.7 engine releases the same as their 1.6. Predecessors allow enabling the maintenance mode for that goal. The great benefit of such mode is, you grant certain people permission to view your website even though it is under maintenance.
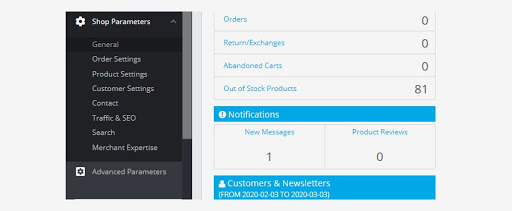
- In your Prestashop admin panel go to the Shop parameters ➜ General section:
2. Choose the Maintenance tab, where you can select the following options mentioned below :
- Enable shop – enable the maintenance block by setting it to “No”.
- Maintenance IP – you can add the IP Addresses of the users to allow them to see the front office. Multiple IP addresses should be separated by using commas. You can also add your own IP address to the list by clicking the “Add my IP” button.
- Custom Maintenance Text – you can use the text, images, or videos that decide what your visitors will see on the maintenance page if the maintenance mode is enabled.
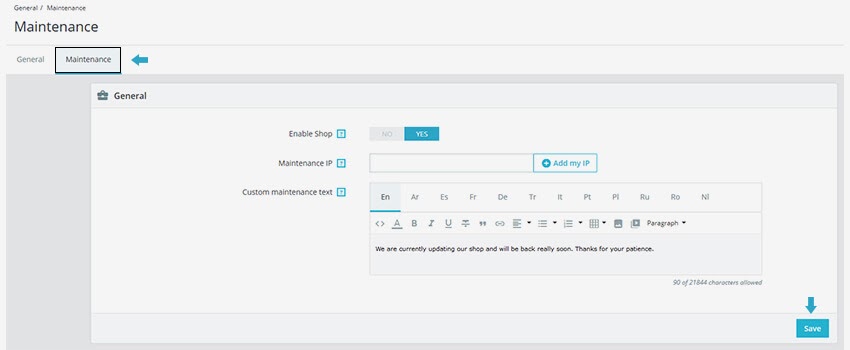
3. Save the changes and refresh your website to see the maintenance update.
Hope this Tutorial was helpful to you.
Related Tutorials For PrestaShop :
Minify .CSS File Easily | PrestaShop 1.7
Create Database | Prestashop 1.7.x
How To Change The Language Of Your Admin Panel | Prestashop 1.7