- In your Prestashop Admin panel go to International ➜ Translations section :
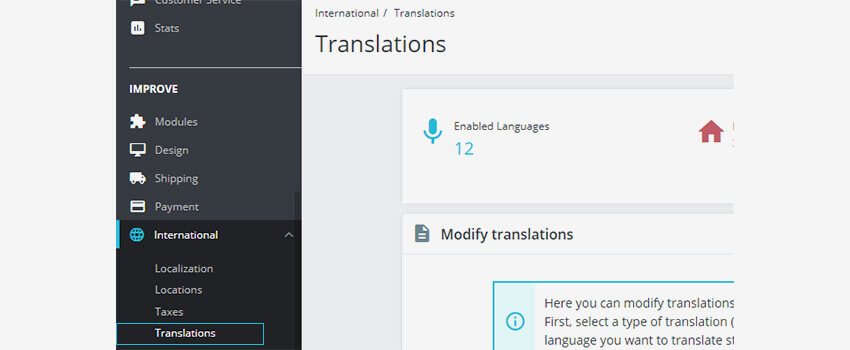
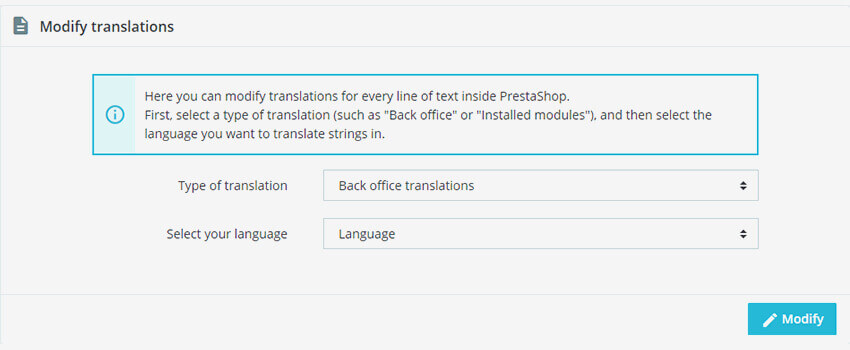
2. In the Modify Translations section, you can set the options mentioned below :
- Type of translation
- Back office translations – the text will be noticeable to you and your team from your store’s administration panel.
- Theme translations – the text will be visible to your customers when browsing your store.
- Installed modules translations – you can add the content from the modules.
NOTE: The modules that are available but you haven’t installed will not appear in the tool.
-
- E-mail translations – the terms used for the default email templates.
- Other translations – it contains expressions that haven’t been identified as being from the theme or the back-office yet.
- Select your language – select the language for which you need to edit the text.
NOTE: In most cases, you will find the needed text to edit in the Theme Translations section, if not then you should check the other types of translations.
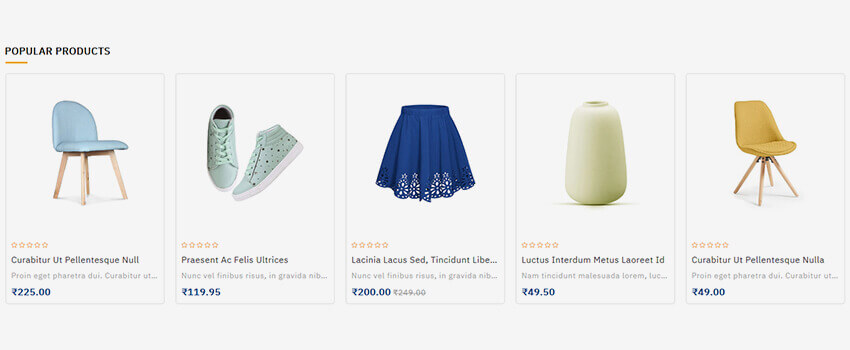
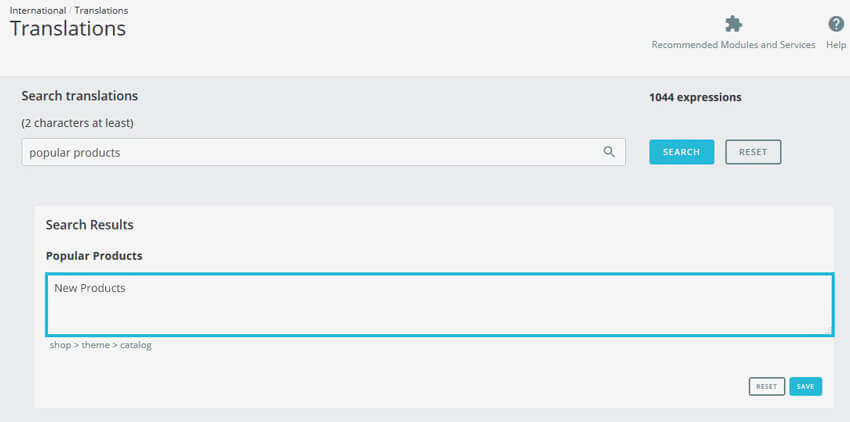
3. For example, let’s change the “Popular Products” title on the home page :
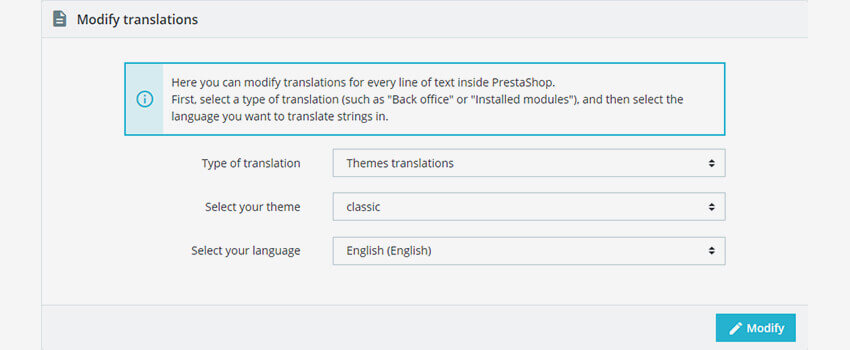
4. Select Translations theme type, your theme number, language, and click the Modify button :
5. On the page that opens, enter the words you want to search for and click the Search button. You will see the field in the search result page which allows you to write the new text instead of “Featured Products”.
6. Save the changes you made and refresh the homepage :

Hope this tutorial will be helpful to you!
Related Tutorials For PrestaShop:
How To Manage Currencies And Set as Default | PrestaShop 1.7