To add an admin user and set permission to it in Shopify follow the steps mentioned below :
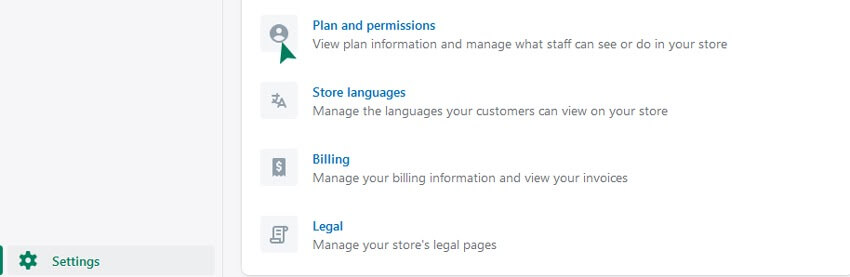
1. Open your Shopify admin panel and go to the Settings and choose the Account from the Settings list.
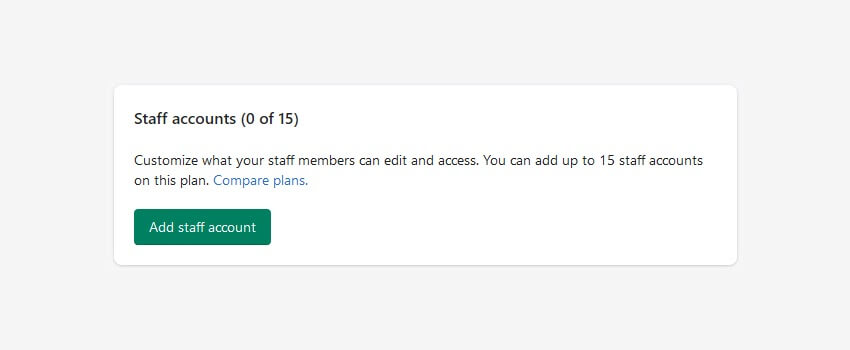
2. Then click on the Add staff account button to proceed further :
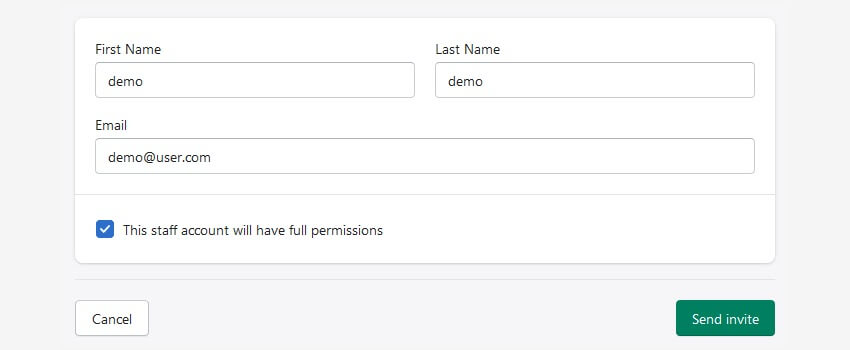
3. Fill in the details such as first name, last name, and email address of the new staff member.
You will see the checkbox with text saying “this staff account will have full permissions”.
4. Click on the checkbox text to enlarge the permissions options.
5. Select what this new staff account can view and edit.
6. Click on the checkboxes next to the areas of the admin section that you want your staff member to have access to such as
(General:Home/Orders/DraftOrders/Products/Giftcards/Customers/Reports/Dashboards/Discounts/Apps settings)
(Online store: Themes/Blog posts and pages/Navigation/Domains)
(Point of sale: Locations).
7. After choosing the right permissions click on the Send invite button
The new staff member will receive an email invitation to create an account and will be convinced to create a password for it.
8. To set a limit to user permissions, select the user and click on the limit admin access, and mark the options allowed for user admin access.
9. Click on the Save button.
Hope this tutorial will be helpful to you!
Related Tutorials For Shopify :
Shopify Theme Options Overview
Enable/Disable Store Password Protection | Shopify Themes
Change Your Store Google Map Location And Contact Details | Shopify Themes