To change your store’s google map location and contact details follow the options mentioned below :
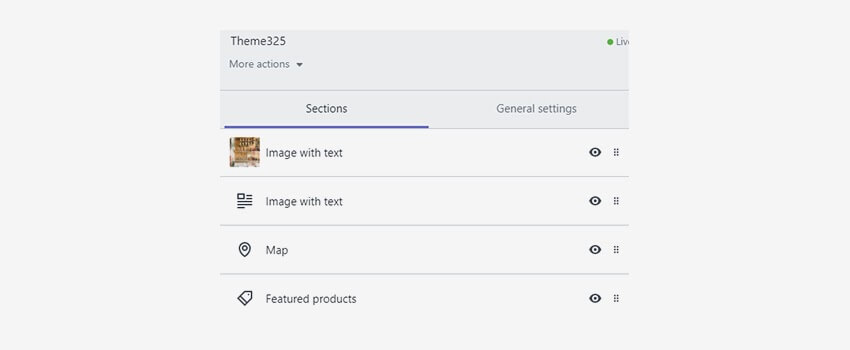
If your Shopify theme supports Sections, complete the following :
1. Open your Shopify admin panel and go to the Online store ➜ Customize section and go to the section called Google Map.
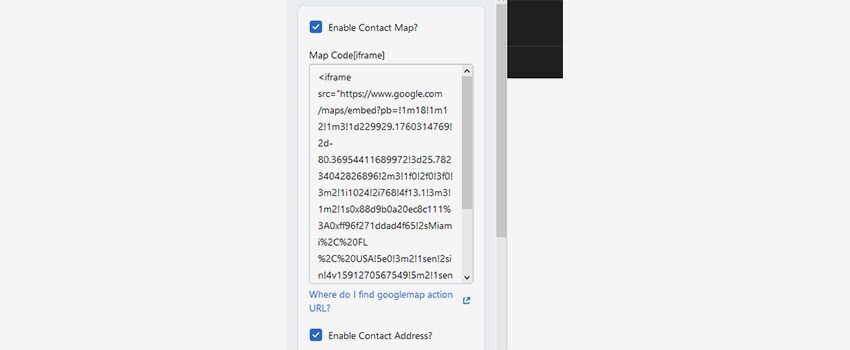
2. You will have to find the Map address field in this section and add your store’s physical address.
Right below it, you will see a Google Maps API key field where you will have to paste the Google API key obtained from the Google developer page. After doing it your map will appear.
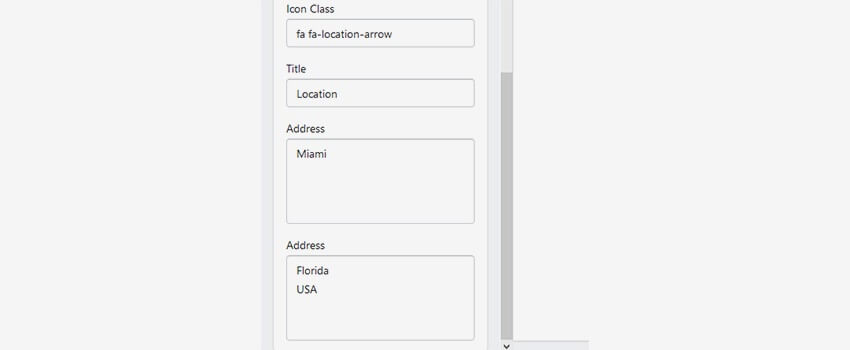
3. To make changes to the contact details go to the Map captions, where you can input contact details such as phone number, email address, store address, and working hours.
4. The templates also have a Contacts block in the footer settings section which contains contact information of the store. You will have to go to the Footer section and locate the contact block field to modify it.
If your Shopify theme does not support sections, complete the following options :
1. In your Shopify Admin panel go to the Online store ➜ Customize ➜ Google Map section of the customizer to change the Google map location.
You also get an option to show the map on the homepage or contact us page.
2. Store contact details can be changed under the Online store ➜ Customize ➜ Custom blocks section.
The custom block for contacts and store opening hours are usually located at the bottom.
NOTE: the store contact details that appear on the invoice can be changed in the Settings ➜ General ➜ Store address section from the admin panel.
Hope this tutorial will be helpful to you!
Related Tutorials For Shopify :
Shopify Theme Options Overview
Enable/Disable Store Password Protection | Shopify Themes