To create a drop-down menu follow the steps mentioned below :
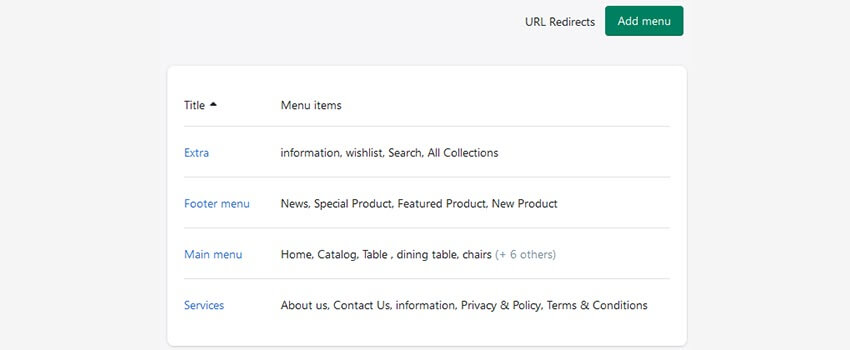
1. Open your Shopify admin panel and go to the Online store ➜ Navigation section. You can see the available link lists and select the item list you want to add to the drop-down menu.

For example, if you have the Catalog menu item, you can create a drop-down for it, which contains different categories or/and products.
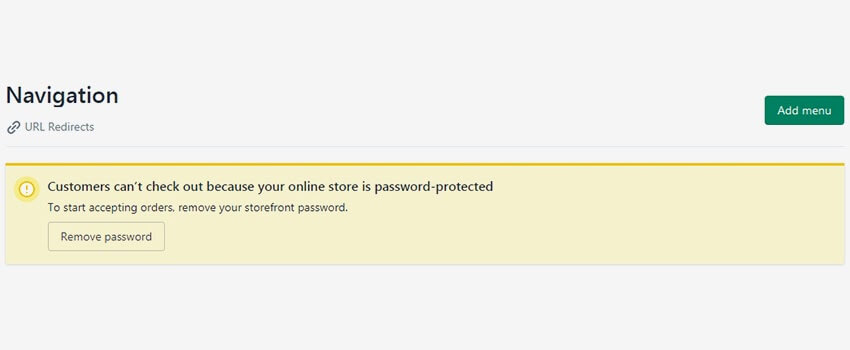
2. Click on the Add menu button on the top.
3. Enter the Name of the filed. If you want to add a drop-down menu to the existing menu item just like a catalog menu item. name the link list as Catalog.
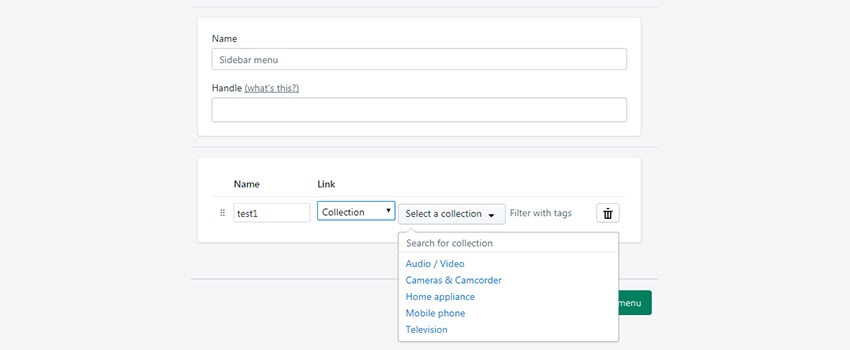
Click on the Add another link button on the left.
4. Type the Link name in the appropriate field.
5. You can skip the Handle filed’s information as it is. Only change it if you want to have the item link to be different.
NOTE: Handles are used to access the attributes of the liquid objects. By default, a handle is an object’s title with lowercase with any spaces and special characters that are replaced by hyphens ( – ). Most objects in Shopify such as products, collections, blogs, articles, menus have handles.
6. Pick up the type of the link from the Link to… drop-down.
7. As you are creating the drop-down from the catalog, we can either select Collection or product type.
8. Select the desired Product/Collection.
9. To add more submenu items, click on the Add another link on the left, and perform the same steps for the next submenu items.
10. Save the changes you made.
Hope This Tutorial Will Be Helpful To You!
Related Tutorials For Shopify :
How To Edit Footer Links And Copyright Notification | Shopify Themes
How To Manage Your Store’s Main Menu (Mega Menu) | Shopify Themes