To edit footer links and copyright notifications follow the steps mentioned below :
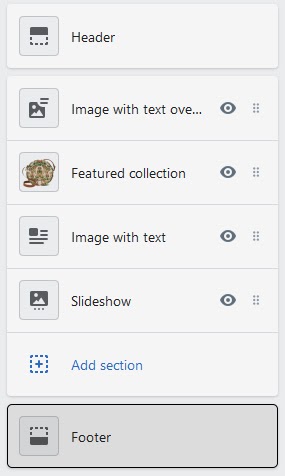
1. Open your Shopify admin panel and go to the Online store ➜ Themes ➜ Customize section :
2. Then choose the Custom blocks section
3. Scroll down to the Footer position where all the footer links are set.
4. For Editing the title that appears for each block, just change the text in the Title text column.
5. For Editing the content that appears below the block title, edit the content column properly. Some blocks appear with a drop-down menu to choose the content that fits you:
- None – it will not display anything under the footer block title.
- Footer – it displays footer links set in the Online store ➜ Navigation ➜ Main menu list. You can also edit it by clicking on the Edit link list.
On the page that opens, you can add another link as well as edit the existing link.
Save the changes you made.
- Main menu – it displays the links that are set in the Online store ➜ Navigation ➜ Main menu list. It can be edited the way you edit the footer list.
- Also, you can add a new list and you will be able to choose it from the custom block content drop-down menu.
To do it, go to the Online store ➜ Navigation and click on the Add a link list.
Fill in the details with the proper information.
Save the changes you made.
- For the blocks that do not have drop-down in the content column, you can just modify the information set such as email, link, telephone, text.
6. What all the essential changes are carried out for the footer custom blocks, click on the Save button.
7. If you got a theme that has Sections functionality, perform the following steps to edit the copyright notification :
- Open your Shopify admin panel and go to the Online store ➜ Themes ➜ Customize ➜ Sections ➜ Footer section
- Scroll down a bit to the Copyright section to edit it in the Copyright text field value.
- To stop displaying “Powered by Shopify”, uncheck the Show “Powered by Shopify” selection.
- Click on the Save button and refresh to see the changes you made.
8. If your theme does not support Sections, then follow the steps mentioned below :
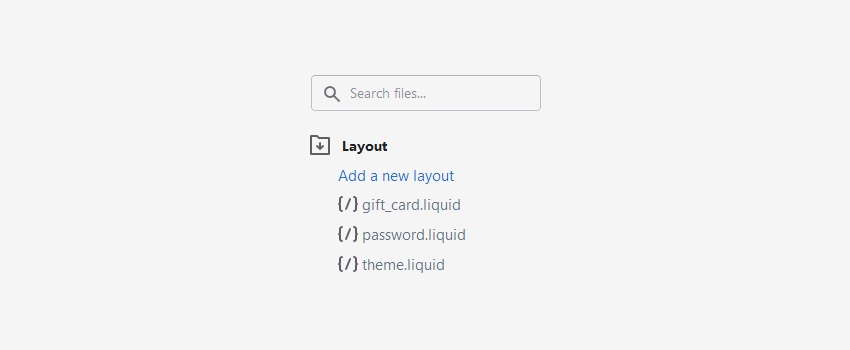
- Open your Shopify admin panel and go to the Online store ➜ Themes ➜ Actions ➜ Edit code (HTML/CSS). Then open the Layouts folder and open the theme.liquid file.
- Search for the class=“copyright” in the from the code, it will look like as shown below :
|
- © – it shows the copyright symbol;
- {{ “now” | date: “%Y”}} – it is used to display the current date;
- {{ powered_by_link}} – it displays the ‘powered by Shopify’ text;
- You can edit the elements to display your own custom text.
Save the changes you made!
Hope this tutorial will be helpful to you!
Related Tutorials For Shopify :