In Prestashop, the order status will allow you to keep your customers informed on the stage of the purchase, whether it is shipped, refunded, delivered, etc.
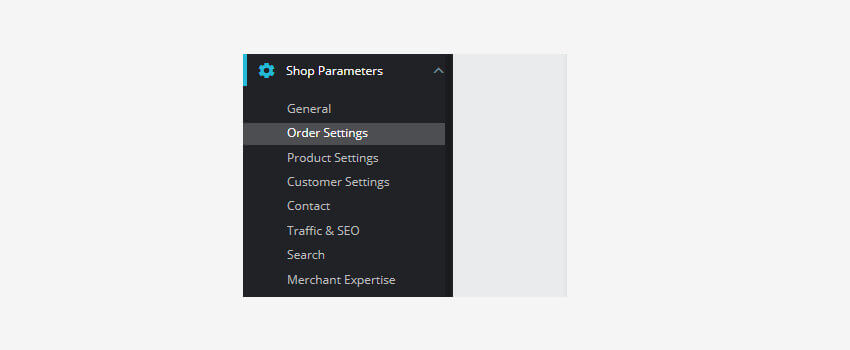
- In your Prestashop admin panel go to the Shop parameters ➜ Order settings section :
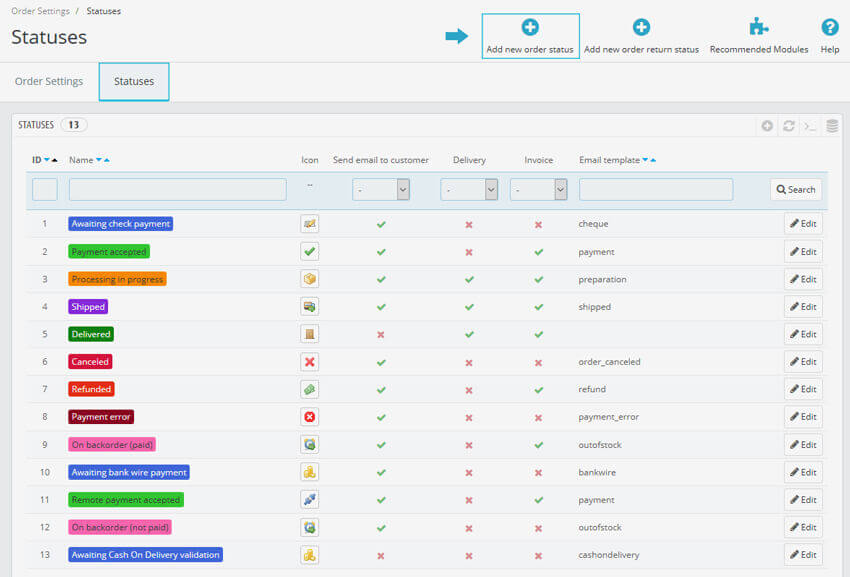
2. Choose the Statuses tab. You will see a list of predefined order statuses that can be adjusted to your needs. Each status has a distinctive title color and icon. You can create a new status item simply by clicking Add new order status :
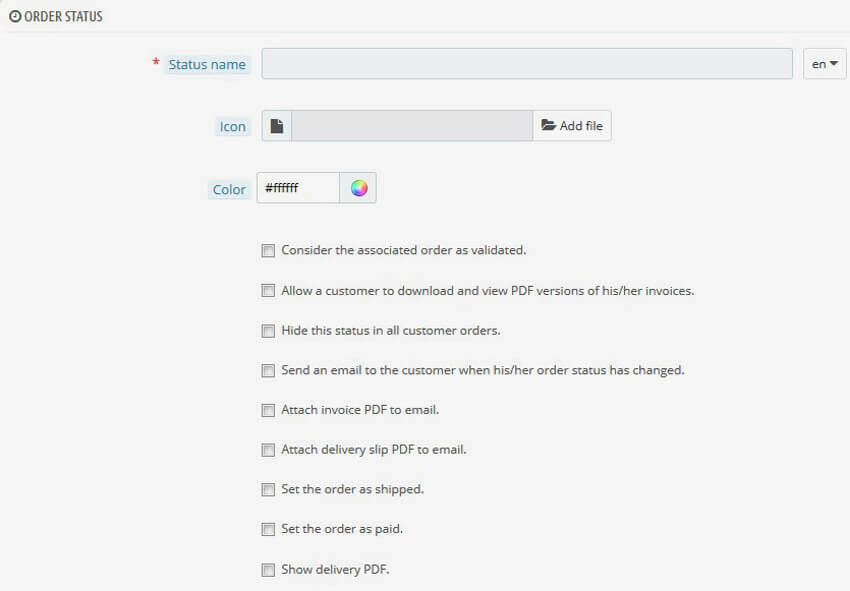
3. Fill the options mentioned below :
- Status – You can choose the title of your new status.
- Icon – Set the icon of the new status.
- Color – Set the color of the new status
- Consider the associated order as validated – if marked yes, this status marks all associated orders as Paid, and puts them in this same status.
- Allow a customer to download and view the PDF version of their invoice – if unchecked, you will have to send customers their invoice manually.
- Hide the status in all customer orders – this option enables you to create an internal status for you and your team. Customers can never see this on their order status page.
- Send an Email to the customer when his/her order status has been changed – when checked, a drop-down menu will appear to choose which mail template to use.
- Attach invoice PDF to an Email – Sends an Email to the customer with the invoice in PDF file format attached.
- Attach delivery slip PDF to an Email – Sends an Email to the customer with the delivery slip in PDF file format attached.
- Set the order as shipped
NOTE: Be aware, once an order is set to “Shipped”, it cannot be set back to the previous status.
- Set the order as paid
NOTE: Be aware, once an order is set to “Paid”, it cannot be set back to the previous status.
- Shows Delivery PDF – Displays the delivery PDF.
4. There is also a return status type which is less informative and contains only a specific title and color (it does not have any impact on the order).
Hope this Tutorial will be helpful to you!
Related Tutorials For PrestaShop :
Change The Logo And The Favicon In Your Website | PrestaShop 1.7
Link Widget | PrestaShop 1.7.X
Manage Positions Of Modules | PrestaShop 1.7.X
Maintain Store Title & Contact Information | PrestaShop 1.7.X
Setup (Layouts) Columns In Your Website | PrestaShop 1.7.X
Change Footer Copyright Text In Your Website | PrestaShop 1.7
Transfer Your Website From One Domain To Another | PrestaShop 1.7