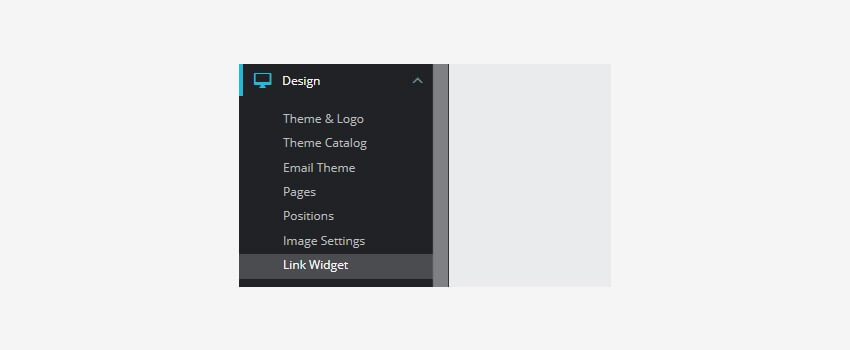
- In your Prestashop admin panel go to the Design ➜ Link widget section :
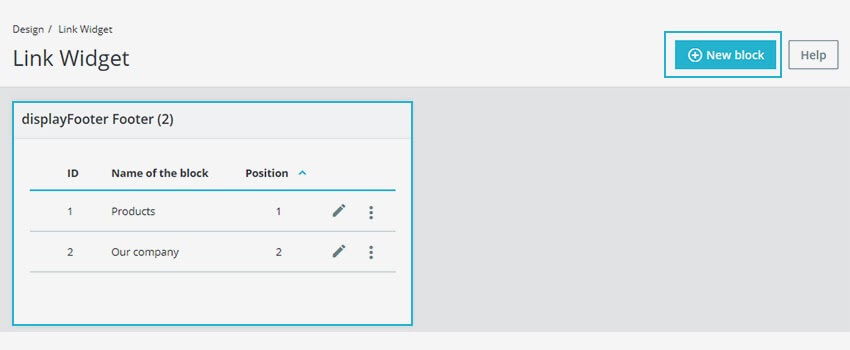
2. Generally, you will see a default link block comprised of two-footer links. To create a new link widget, click the New Block button on the bottom-right :
3. You will have to set the options mentioned below :
- Name of the link block – You have to set the widget title.
- Hook – You have to set the position you want the new widget to be displayed on :
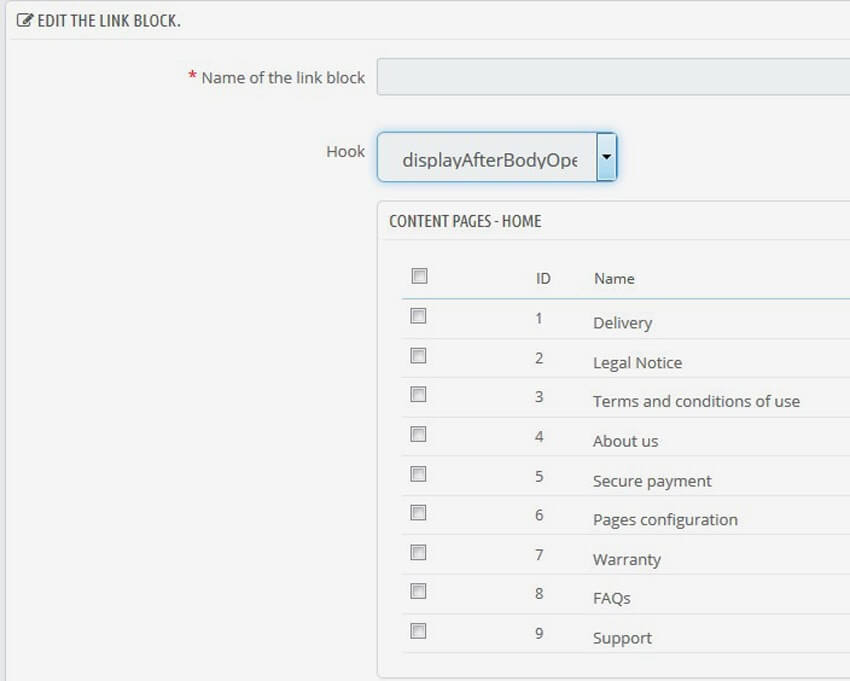
4. You can also link the existing page to your block by selecting them :

5. You can add custom links for each language (English, Spanish, French, Russian, German) separately as shown below :
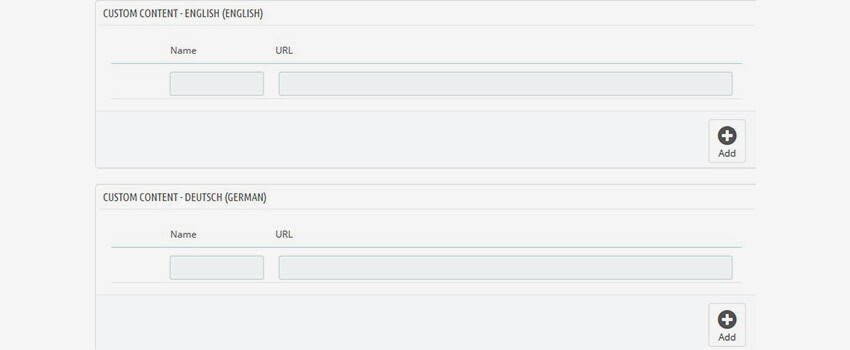
6. Click the Save button to approve all the changes.
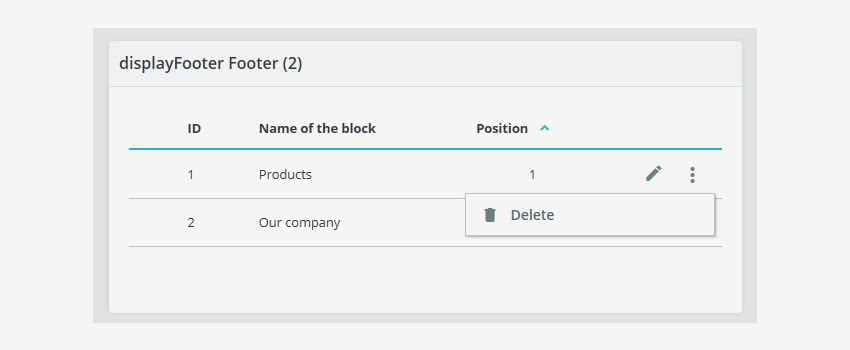
7. To edit the existing links, click on the Edit button. To remove the one, click the Delete button :
Hope this tutorial will be helpful to you!
Related Tutorials For PrestaShop:
Change The Logo And The Favicon In Your Website | PrestaShop 1.7
Use CMS Pages | PrestaShop 1.7.X
Manage Positions Of Modules | PrestaShop 1.7.X
Maintain Store Title & Contact Information | PrestaShop 1.7.X
Setup (Layouts) Columns In Your Website | PrestaShop 1.7.X
Manage Order Statuses In Your Store | PrestaShop 1.7
Change Footer Copyright Text In Your Website | PrestaShop 1.7
Transfer Your Website From One Domain To Another | PrestaShop 1.7